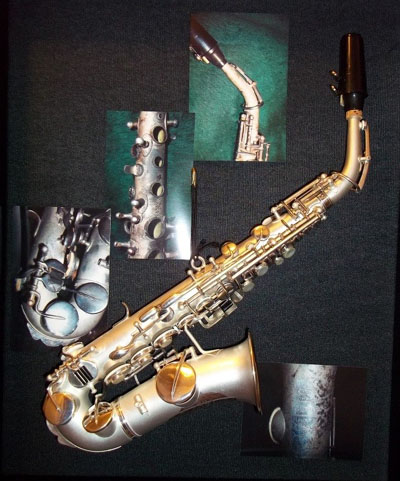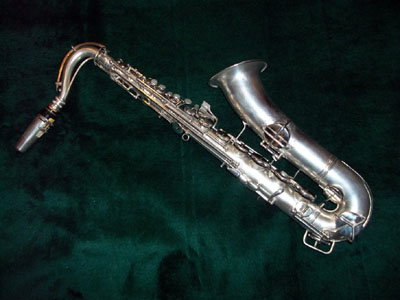

PADS:
Why is it so difficult to take small leaks out of an older pad? The truth is, it’s not difficult if the pad was installed properly to begin with. Unfortunately many of the pads I see where installed with only a small amount of glue. The only way to adjust the pad is to shift the whole pad cup, and it’s almost impossible to remove small leaks by moving the cup alone. A “solution” to this is to get the pad wet, clamp it down really hard, and let it sit overnight…that’s how 99% of the pads are installed at the factory. The horn will play great the next day! And maybe even for a few weeks. But when the pads start to “relax” they’ll go out of adjustment.
The proper way to install a pad is with LOTS of glue. The pad cup is shifted so it’s level with the tone hole, then the pad is adjusted by heating the glue and literally floating it into position. When there’s lots of glue behind a pad it’s possible to come back months, or even years later and float the pad back into position.
Sax pads have a heavy cardboard back, and that makes the pad very stiff. When you make an adjustment on one side, often the other side also moves. In theory, if you have a perfectly flat tone hole (easy to do) and a perfectly flat pad (not so easy), they should match up perfectly. In actual practice there are always small imperfections in the pad. To overcome this problem and make the pad more flexible, I make cuts in the cardboard from the center out to the edge.
KEYS:
The first step to replacing a pad is to remove any excess key motion (side to side, or “wiggling” around). To test your horn, simply push on a key to see if it moves side to side, or “wiggle” it to see if its moves around right next to the post. There is a procedure to correct this problem, and that must be done when doing an overhaul or replacing just one pad. Warning! Some inexpensive saxes have keys with so much excess motion it’s almost impossible to make adjustments without doing an extensive amount of work. You might save a little when you buy the horn, but it will be more costly to get it fixed. Loose keys is the first thing you should look for!
Another common problem with keys is NOISE! Excess motion (as above) can contribute to key noise. Using the proper oil will help reduce some key noise (I recommend Hoppe’s Gun Oil). I do NOT recommend putting a drop of oil at the end of the keys while they’re still on the horn! That just makes a mess, and very little of the oil goes where it’s needed. If the proper oil was used in the first place it’s not necessary to add more even after years of use. Note there are two types of pivots on a sax: pivot rods (use Hoppe’s Gun Oil), and pivot screws. I prefer to use a heavier oil for the screws, especially on the long rods like the low C#, B, and Bb. Selmer’s Tuning Slide and Cork Grease works very well for that.
I’ve tried many many materials to reduce key noise, and found that felt works the best. There are many types and grades of felt, so it’s important to use a felt that’s very dense (like the kind used to make hats). Even with the very best materials available, the keys of the right hand get noisy after a year or two of playing, so it’s necessary to replace the felt from time to time. The middle G is another very noisy key, and it’s usually necessary to raise the pad height to make it possible to replace the original cork with an adequate thickness of felt.
NECK:
I’ve worked on thousands of saxophones, and I always take at least a few minutes to clean and fit the neck on even the cheapest student models. It always makes the horn sound better. It can take an hour (or more) to get the fit just right on a Pro horn, but when the neck is fit for optimum balance and maximum tone, your instrument can sing better than when it was brand new!
Please read my article under the Technical Section entitled “The Art of Fitting a Sax Neck” for a more detailed description of this procedure. In general here are a few things I look for and correct:
Is the neck to tight or too loose?
Is there any lacquer on the tenor or the receiver? If yes, that MUST be removed.
Is there any solder inside at the bottom of the receiver (where it connects to the body)? If yes, that MUST be removed.
Is there a coating of green oxidation? Soft powdery oxidation can “absorb” some of the vibrations as they move through the neck to the body of the horn. First, YES, the metal does vibrate and it does effect the resonance and tone color. The proof of this is very simple: a lacquered horn sounds different than a silver plated horn, and silver sounds different than gold.
The first question is “why is there so much oxidation on the neck/tenon?”. It might simply be that the tenon is too loose and needs to be expanded. Or it might be that the tenor and/or receiver are out of round, or one has a dent, or a high or low spot. Simply using 600 grit sandpaper to clean off excess oxidation will make a huge difference in the resonance of the horn.
Properly fitting a neck is not just a matter of how “tight” it fits. If there is too much contact at the very top or bottom, that tends to reduce the resonance. Very very often there’s a high point at the adjusting screw caused by one side of the slot pulling in further than the other side. When tightening the neck screw, if you have to screw it down really hard to stop the neck from moving around, it needs to be properly fit! The correct procedure is to tighten the screw just enough to keep the neck from moving side to side. Over tightening the screw will cause the receiver to go out of round.

